
 |
| Gizmo relaxing in the sun at our old house in our bay window seat |

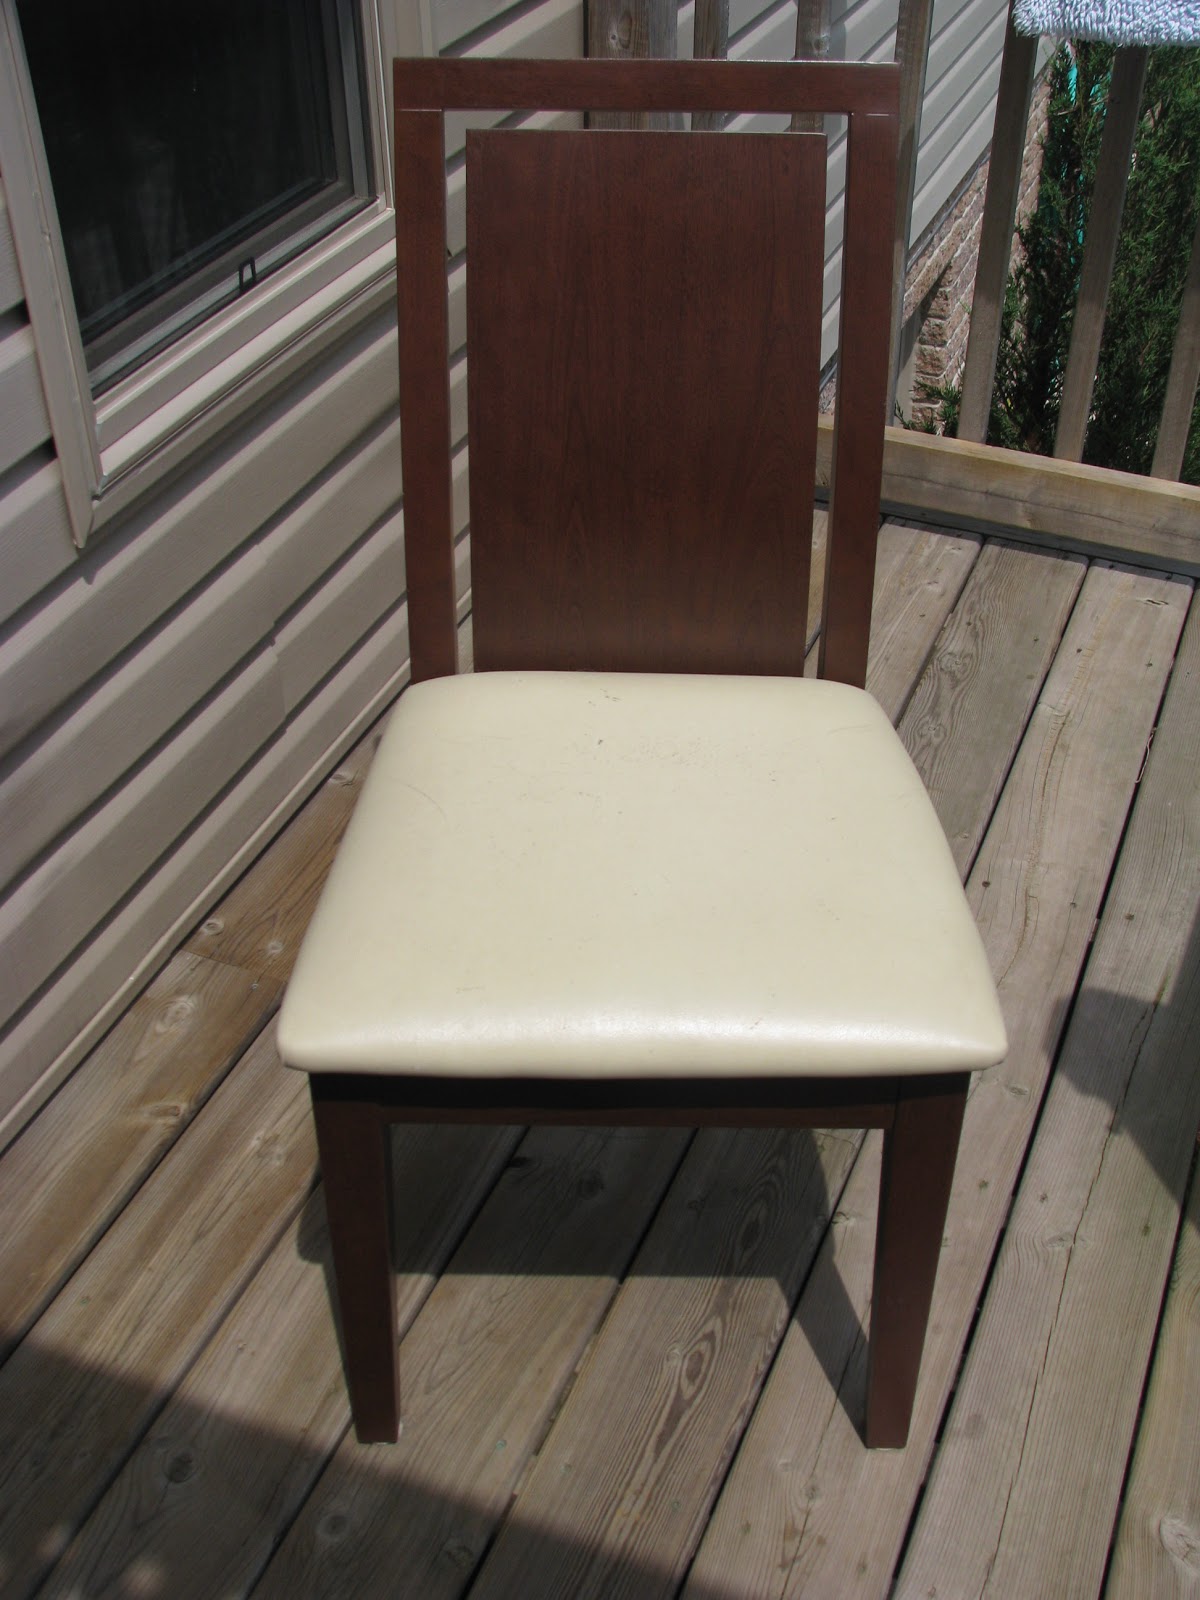
And here's a shot of our chairs before:
- Lay out the fabric to establish the size of the piece you need to cut, be sure to cut it large enough to generously wrap over the edges of the chair (I had three inches on each size which may have been slight overkill, but I was also working with the potential for a large margin of error LOL)
- Unscrew chair pads from chair frame, I imagine a drill would have been handier for this, but my hubby had his with him.
- I was also covering my chairs in clear vinyl over the cotton fabric I selected as I have a two year old and we all know how messy they are. So I also had to measure out the vinyl fabric and cut it into squares, but if you don't have children feel free to skip this particular step.
- Since I was using a cotton fabric, I had to iron all of the squares I had cut out prior to putting them on the chair, as I'm sure you can see they were quite wrinkly. Ironing was a breeze though, not how I remember ironing ever going, so that only took about 2 mins a square, and I did one square at a time, so were all freshly pressed.
- Now the fun part begins, stapling the fabric to the chair, although I am proud to say I only had one staple go in backwards (because I was holding the staple gun the wrong way), so I started at the back of the chair pad (the part that tucks into the frame of the chair - figuring if I screwed up it would be well hidden), and pulled the fabric REALLY tight, and stapled in the center then the sides. Then I stapled the opposite end of the chair pad (where your legs go), again holding it really tight, leaving the corners to be dealt with at the end, because they are trickier. So then I stapled the center of the sides, and got to work on the corners. This part would probably be easier with two people I've decided, but since my hubby wasn't home, and may or may not have supported my fabric selection I decided to continue on my own rather then wait til he got home. So, I held with one hand really tight on the corner and stapled with the other, and just continued along the fabric working out the wrinkles as best I could. Then I repeated the whole process with the vinyl, which I'll tell you was a lot trickier then the cotton, and a lot thicker too. Repeat this whole process six times (as I have six chairs).
- The next step is re-attaching the chair pads to the chair, and this is where I hit a hurdle, you see, I couldn't get the screwdriver to drive the screws through the freshly installed vinyl, so I had to wait for Eric to get home and use the drill. Which worked like a charm, although he wasn't thrilled (as I suspected he wouldn't be with my fabric selection, however, he doesn't have the best taste when it comes to home decorating...


Looks great eh? We have been looking for a storage ottoman for quite sometime and I had seen one I loved over that was similar to this fabric (but was way too much money and my hubby nixed it right away), so I figured I'd incorporate it my own way, and within a reasonable budget. Here's a breakdown of how much this cost me:
Supplies:
- staple gun and staples (which I needed a lot of...) - free already owned
- screwdriver (again already owned)
- drill (already owned)
- 4 yards of fabric with shipping (and I didn't need 4 I totally could have got three but now I can make some throw pillows or something) $56.00
- Roll of vinyl which was three yards and I needed every inch of it $15.96
So the total cost of the project was $71.96, which divided by six chairs is only $11.99, which I think is pretty good, and I love the finished product!!! What do you guys think?
Amy
And this is my Thrilling Thursdays link up!! So be sure to head over to Paisley Passions and see what everyone else has made today!!


No comments:
Post a Comment