Showing posts with label DIY renos. Show all posts

Thursday, June 2, 2011

DIY Dining Room Chair Makeover!!

So, as I have alluded to in previous posts, I decided (rather quickly) to re-upholster my dining room chairs. They are our everyday chairs, as we have a large great room which encompasses our dining area, kitchen and family room (aka "great room"), so you see them everyday. And everyday for the last year I have been reminded that those chairs need to be recovered. You see this very lovely cat, Gizmo (who we had to say good bye to this time last year, as he was sick and had lost bladder control, in addition to peeing blood), did a number on our chairs. No, lucky for us he didn't pee on them, but he had this problem with his back claws (he was front declawed for this very reason), he didn't know how to put his back claws in, so I have poke holes in all my furniture, especially my dining room chairs, as he loved to chill on them. Hiding in plain view we'll say.

Gizmo relaxing in the sun at our old house in our bay window seat

So, on Saturday, while Hannah napped and Eric was helping his grandparents I went and found myself a screwdriver and the staple gun and set to work on revamping my chair covered (unannounced to my hubby - boy was he thrilled when he got home and saw me operating the staple gun - let's just say there have been previous disaster with that thing.... I can never remember which end the staple comes out of.... pathetic I know). Anyways, a couple of weeks ago I was perusing fabric.com and found a fabric I LOVED, and although the shipping to Canada isn't that great, after looking at local stores and finding nothing that compared, or that I even liked, I decided to bite the bullet and clicked order. It took just over a week to get here, and I wasn't planning on doing it right away, but then I had some time to myself Saturday afternoon, and thought what the heck, what have I got to lose. This is a shot of the fabric we chose along with the before of the chair pad, you'll notice the nice poke holes:


And here's a shot of our chairs before:
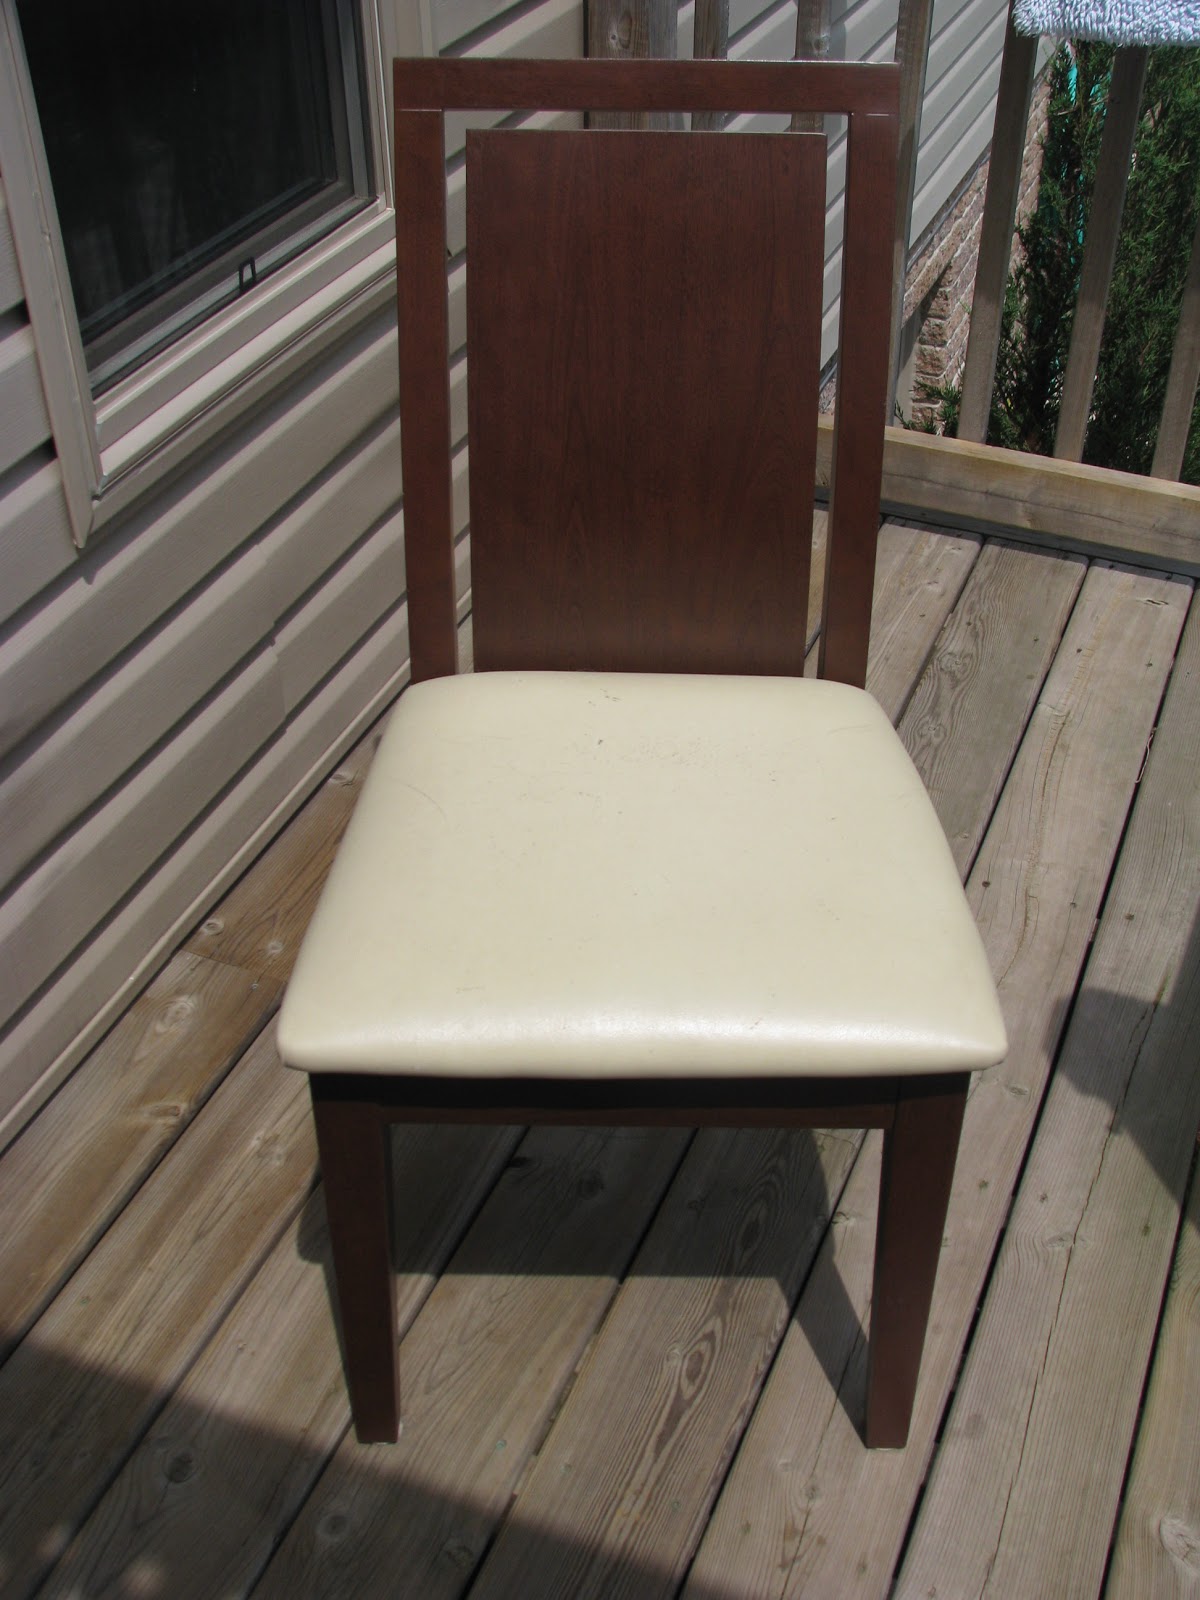


And this is how I did it:
  1. Lay out the fabric to establish the size of the piece you need to cut, be sure to cut it large enough to generously wrap over the edges of the chair (I had three inches on each size which may have been slight overkill, but I was also working with the potential for a large margin of error LOL)
  2. Unscrew chair pads from chair frame, I imagine a drill would have been handier for this, but my hubby had his with him.
  3. I was also covering my chairs in clear vinyl over the cotton fabric I selected as I have a two year old and we all know how messy they are. So I also had to measure out the vinyl fabric and cut it into squares, but if you don't have children feel free to skip this particular step.
  4. Since I was using a cotton fabric, I had to iron all of the squares I had cut out prior to putting them on the chair, as I'm sure you can see they were quite wrinkly. Ironing was a breeze though, not how I remember ironing ever going, so that only took about 2 mins a square, and I did one square at a time, so were all freshly pressed.
  5. Now the fun part begins, stapling the fabric to the chair, although I am proud to say I only had one staple go in backwards (because I was holding the staple gun the wrong way), so I started at the back of the chair pad (the part that tucks into the frame of the chair - figuring if I screwed up it would be well hidden), and pulled the fabric REALLY tight, and stapled in the center then the sides. Then I stapled the opposite end of the chair pad (where your legs go), again holding it really tight, leaving the corners to be dealt with at the end, because they are trickier. So then I stapled the center of the sides, and got to work on the corners. This part would probably be easier with two people I've decided, but since my hubby wasn't home, and may or may not have supported my fabric selection I decided to continue on my own rather then wait til he got home. So, I held with one hand really tight on the corner and stapled with the other, and just continued along the fabric working out the wrinkles as best I could. Then I repeated the whole process with the vinyl, which I'll tell you was a lot trickier then the cotton, and a lot thicker too. Repeat this whole process six times (as I have six chairs).
  6. The next step is re-attaching the chair pads to the chair, and this is where I hit a hurdle, you see, I couldn't get the screwdriver to drive the screws through the freshly installed vinyl, so I had to wait for Eric to get home and use the drill. Which worked like a charm, although he wasn't thrilled (as I suspected he wouldn't be with my fabric selection, however, he doesn't have the best taste when it comes to home decorating...
So, the whole process took about 2 hours, give or take, but all in all the time of a two year olds nap. She woke up just as Eric started the drill, go figure, but kinda perfect timing. So here's the finished product:


Looks great eh? We have been looking for a storage ottoman for quite sometime and I had seen one I loved over that was similar to this fabric (but was way too much money and my hubby nixed it right away), so I figured I'd incorporate it my own way, and within a reasonable budget. Here's a breakdown of how much this cost me:

Supplies:
  • staple gun and staples (which I needed a lot of...) - free already owned
  • screwdriver (again already owned)
  • drill (already owned)
  • 4 yards of fabric with shipping (and I didn't need 4 I totally could have got three but now I can make some throw pillows or something) $56.00
  • Roll of vinyl which was three yards and I needed every inch of it $15.96
So the total cost of the project was $71.96, which divided by six chairs is only $11.99, which I think is pretty good, and I love the finished product!!! What do you guys think?

Amy

And this is my Thrilling Thursdays link up!! So be sure to head over to Paisley Passions and see what everyone else has made today!!


Tuesday, May 10, 2011

Main Floor Bathroom Reveal... Dilemma Solved!!

So, better late then never, especially since I've been sitting on these puppies for a while (since Saturday night). Here are the after pics of the main floor bathroom (again please excuse the horrible photography):


As you will remember this is what the bathroom looked like before (after the Rustoleum Cabinet Transformation) :


And check out this post to see what it looked like during it's makeover...

Here's a breakdown of how we did what, and when:

  • Wednesday night, Eric mudded the walls (where the holes had been)
  • Thursday night, Eric sanded and washed the walls down, and taped off all the spots he didn't want me to get paint...I'm no pro...
  • Thursday night, I rolled the first coat of paint, and Eric edged
  • Friday afternoon, I rolled and edged most of the second coat, and Eric finished edging the ceiling, I know my limitations lol
  • Saturday we put the bathroom back together!!
And viola that is the finished product, and I love it. The bathroom is soo much brighter now, and it feels cleaner, but maybe that's just because we can actually see in there now, lol. It's a nice fresh color, and I still need to buy some art work for the wall opposite the toilet, but I am looking forward to shopping for it!!

What do you guys think? Not bad for a three day project, and compared to the kitchen it was easy-peasy!!

Amy

Friday, May 6, 2011

What I've Been Up To Lately...

So here's a little preview of what I'm working on for Monday's post....

It involves this:


This:

And this:
(I found this one I loved at Bed Bath and Beyond - the stripes are actually plush, so it's very spa like - I fell in love at first sight... We went there to get the one I had posted about and found this one instead - not totally a love story as it was $10.00 more then the other one but it matched my bath mat perfectly!!)


And a new towel bar yet to be purchased...tonight.... so that my room is back together for my mothers day festivities, hosted by moi, on Sunday.

Remember here, where I mentioned my design dilemma, well dilemma solved... I hope...lol.

Right, now it looks like this. A thousand times brighter then it did yesterday (and we only have 2 of 4 light bulbs in the fixture right now)...

Check back Monday for a pulled together post of the finished project in all it's glory!!

Have a great weekend, and Happy Mother's Day to all you mom's out there (whether you are a grandma, a mom, a mommy-to-be, or a wanna-be momma, if there are children in your heart happy mom's day - you all deserve celebrating)!!!

Amy

Thursday, April 21, 2011

Budget Busters- A Breakdown of the costs of our recent reno's room by room!!

Breakdown of the supplies needed for the Rustoleum Cabinet Transformations Reno's

We bought 4 kits, but soo far have only used three, so I am not factoring in the expense of the 4th kit...

Rustoleum Cabinet Transformations - $79.99 x 3 = $239.97
Paint brushes - Home Depot - (2 x 2" @ $9.98 each, and 1 x 1.5" @ 5.98) = $25.94
Foam Brushes - Canadian Tire - 2pkgs of 30 (we could have only used one but since we opened both of them and can't return one I am including them both) - 2 @ $2.99 = $5.98
Drop Clothes - Dollarama - 8 x $1.00 = $8.00
Cups - Dollarama - 2 x $1.00 = $2.00
Rubber Gloves - 2 x $1.00 = $2.00
2" Painters Tape - 4 roll pack $12.99
Lint Free Rags - 4pk - $1.49 x 4 = $5.96
Labour - free we did it ourselves, and couldn't be prouder....

Total Cost for Rustoleum Cabinet Transformations Product and Installation  302.84 plus 13% tax here (even though we bought the kits in the states, I am still adding tax onto it because I'm not sure what the tax rate is in the United States...)

So the grand total is a whopping :    $342.21

Now, divide that by 5, as we did 5 separate "projects" with it and you get $68.44.

Now I will breakdown the costs of the various projects:
                 
  1. Main Floor Bathroom Vanity -
      $68.44 - Rustoleum divided cost (with supplies and installation)
      $15.00 - New Handles purchased off Ebay - for 2.50 a piece
           Total = $83.44

 2. Master Bedroom Bathroom Vanity -
      $68.44 - Rustoleun divided cost (with supplies and installation) and furthermore, we re-used the handles off the kitchen cupboards, so there was no added cost
                                                                      Total = $68.44

3. Pantry, and two wooden chests (in great room) -
       $68.44 - Rustoleum divided cost (with supplies and installation) also no further cost
                                                                       Total = $68.44

4. Queen size bedroom set, with two armoire dressers, large nightstands, and a headboard
     $68.44 - Rustoleum divided cost (with supplies and installation)
     $  9.59 - Rustoleum Satin nickel spray paint-to spray paint the existing ugly brass handles
                                                                         Total =$78.03

5. Kitchen Cabinets
     $68.44 - Rustoleum divided cost (with supplies and installation)
     $60.00 - New handles purchased off Ebay for $2.50 a piece x 24
     $33.89 - Wireless undercabinet lighting purchased at Costco
     $18.08 - Casing trim mounted on the bottom of the upper cabinets (to hide lighting and achieve a finished look)
                                                                          Total =$180.41

So, there you have it my budget busters in a room by room fashion for our recent reno's. I think we did really well at keeping the costs down, and I feel like the reno's were well worth the money we spent, and the work we did too. We are very pleased with the results. Stay tuned for a breakdown of our flooring costs and recent closet and pantry makeover budgets.


P.S - I'm linking up with Paisley Passions Thrilling Thursdays, head on over here and link up...

Amy

Tuesday, April 12, 2011

The Big Reveal!!! After Pics of the Kitchen!!!!!!

So, here are the most amazing after pics ever!!! I LOVE IT!!! To see the before pics click here, I cannot even express how much I love it!! We used the rustoleum cabinet transformations, in expresso, and we did use the decorative glaze that was included in the kit (the the breakdown of how we did it - check out here). It really goes well with our floors, and decor in general, and is just what we were looking for, so feast your eyes on these gorgeous pictures, and leave me a comment and let me know what you think...


The pantry we refinished as well....
So, that crosses A LOT of things off of our spring reno list.... stay tuned tomorrow for the after pics of the vanities...

Amy

Monday, April 11, 2011

Rustoleum Cabinet Transformations!! How we did it!! and Manic Monday!!

So, this Manic Monday's post should be sponsored by Rustoleum, seeing as my weekend recap is all about one of their products, but it's not, but I will still give you the lowdown on how my weekend reno's went, and stay tuned tomorrow for After Pics!! Be sure to head on over to Life As I Know It, and link up for Manic Monday's....

So, we pretty much pulled it off again this weekend, although the after pics won't be up until tomorrow, as I have yet to even take them. But at this very moment my kitchen is put back together. So here's a breakdown of how our weekend worked out:

  • Friday 5pm - Eric gets home from work, and finishes taking the cabinet doors off the hinges(we started doing this Thursday night and taping off the areas we didn't want paint to get as we knew it would be time consuming and it definitely was - all in all cabinet door removal and taping took over 5hrs). We first drew a diagram of the cabinets assembled in our kitchen numbering each cabinet door on the back with painters tape (so there was no guess work when it was time to put it all back together). I bought paper cups to put the corresponding hinges in, also numbered with the corresponding door (Rustoleum's diagram pretty much layed out how to do it so check out there web page for the specific hows to's)


  • Friday 7pm - start deglossing the cabinets - this step is labour intensive, but I kept reminding myself much easier then sanding all the cabinets - you are supposed to degloss everything then wipe it all down and let it dry for an hr - but by the time I was done wiping everything down, it had been an hour
  • Friday - 8:30pm - First coat of the bond coat....loving the color - need to let it dry 2-3 hrs (which is pretty much how long it took to paint all our cabinets, the cabinet frames, two vanity cabinets and two vanity doors).
  • Saturday - 12:30 am - Apply Second coat of the bond coat to the backs of the doors and cabinet frames
  • Saturday - 2:30 am - Apply the first coat of the bond coat to the fronts of the cabinet doors (which Eric did on his own as I had fallen asleep, what can I say I need my sleep...)
  • Saturday - 9am - Apply second coat of the bond coat to the fronts of the cabinets, and start decorative glazing the cabinet frames (this step we only applied two the front of the cabinet doors and frames, and it definitely helped define the wood grain, and made the cabinets less flat). The decorative glaze needs 8 hrs to dry. So during those 8 hours we did all of the above steps to a pantry, two wooden chests, two dressers, two nightstands, a massive headboard - minus the door fronts as we ran out of workspace (so that's the 90% finished part as we still have to do the door fronts, the drawers are all done just not the fronts of the doors)
  • Saturday 9pm - Apply Protective Top Coat to the backs of the doors and cabinet frames, let dry over night (or 12 hrs)
  • Sunday 9am - Apply Protective Top Coat to the front of the doors and let dry 12 hrs, which we only did 10hrs before rehanging the cabinet doors (as they felt dry to the touch as seemingly were as there's no sign of smudges or fingerprints on the doors)
  • Sunday - 7pm - rehang cabinet doors, and install new hardware - loving it!! Looks soooo good, our kitchen was made to be this dark.
  • Monday Morning - Hubby is putting some molding underneath the cabinets to hide our new under-cabinet lighting
So, all in all I LOVE LOVE LOVE the look of my new cabinets, I was worried it would make my counter tops look super ugly, as they have a lot of green in them, but I like the counter tops a lot better now, and the new handles look amazing. So stay tuned tomorrow for the after pics.... Hope everyone had a great weekend!!!

Amy


Friday, April 8, 2011

Before Pics - Kitchen Cabinets and Vanities

Ok, so here are the before pics of my kitchen. We are going to use Rustoleum Cabinet Transformations on them this weekend and transform them into cabinetry that looks nice. Our decision to do this came rather easy. Our house is only 4 years old, and the cabinets are in good working order (albeit I would love to have an Ikea kitchen again as I miss my pull out drawers) but these kitchen cupboards leave much to be desired.... like space.... they way the shelves are spaced is not what I would consider ideal, however, I would like to rehaul our entire kitchen once we are done with childlocks, and don't need to worry about little heads getting banged on the corner of my coveted granite counters (because why redo the kitchen without that little upgrade - lol). So check back Tuesday for our after pics, we have our whole weekend scheduled around the painting procedure, which I will detail Monday. We are tackling our kitchen cupboards(adding molding on the bottom of the cabinets to hide our under cabinet lighting we purchased and replacing the handles with the stainless steel ones pictured here, two bathroom vanities(and replacing the handles), our freestanding pantry, an entire bedroom set(huge headboard set and two armoire dressers) and two wooden chests (pending that we have enough to cover it all). So here are the before pics....
Sorry about the angle... the only way to get in the whole kitchen was this far back....like I've said before totally not a photographer....


Main Floor Bathroom Cabinet (already taped off...)


Master Bathroom Cabinet....bye bye ugly handles....

So, be sure to check back on Monday for the breakdown of how the weekend went down, and my review of how this product works, and then on Tuesday for pics of the finished product!! I'm sooo excited to start, and more importantly be done ....

Hope everyone has a great weekend!!!

Amy

Monday, April 4, 2011

After Pics!! Great Room and Hallway!! Manic Monday!!

So, yet again, we pulled it off!! We refloored our entire main floor in just two short weekends!! And better yet I couldn't be happier with the results!! We started off the weekend by emptying the pantry and my (SUPER FRIGGEN HEAVY) china cabinet, relocating these items throughout the house (if you wanted pantry food you had to go to the office... good fun... lol....not so much... but hey like I said it looks amazing!!
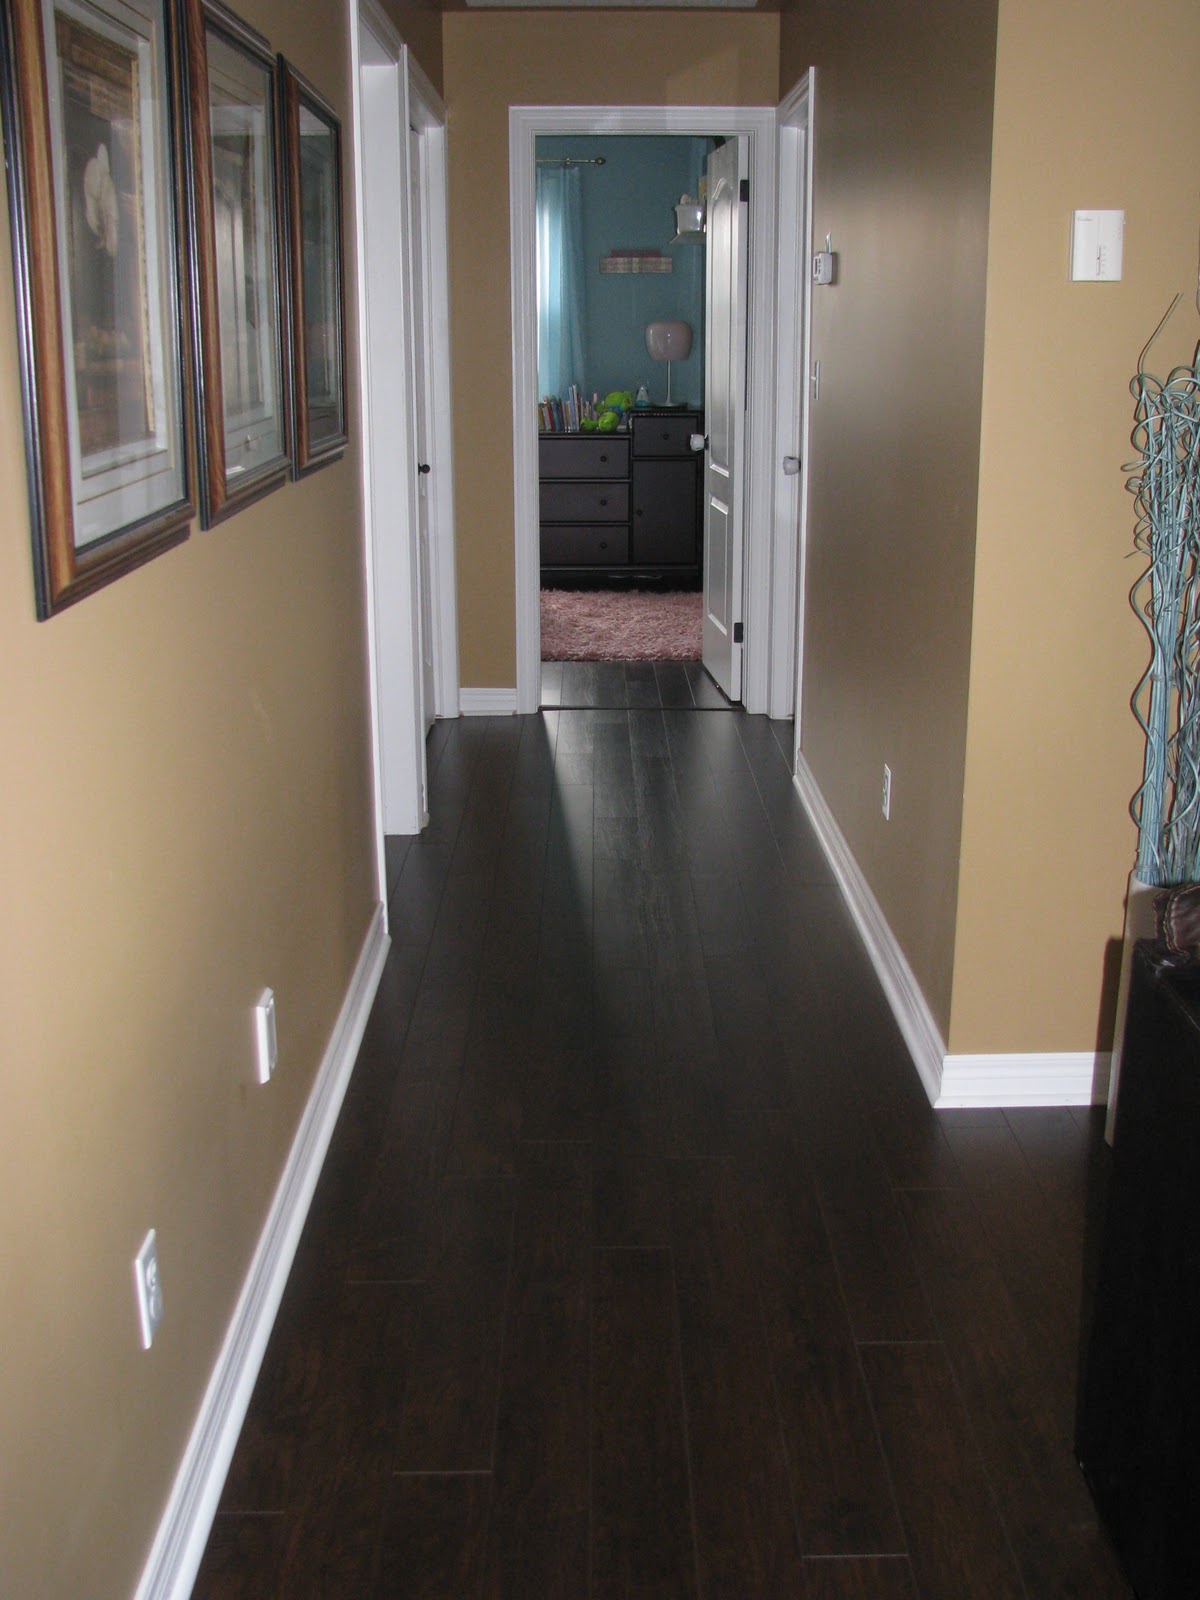
Saturday morning Ash and Mike came over and helped take up the old laminate flooring (as they are going to reuse it in there master bedroom as its still in great shape (only three years old). Then Eric got cracking on the floor, starting around 3pm (by the time all the prep work was done), and floored straight through until 10pm, when we could finally start moving some furniture (namely said SUPER HEAVY china cabinet) back into the great room, so we could go to bed (as all the china was chillin on our bed).

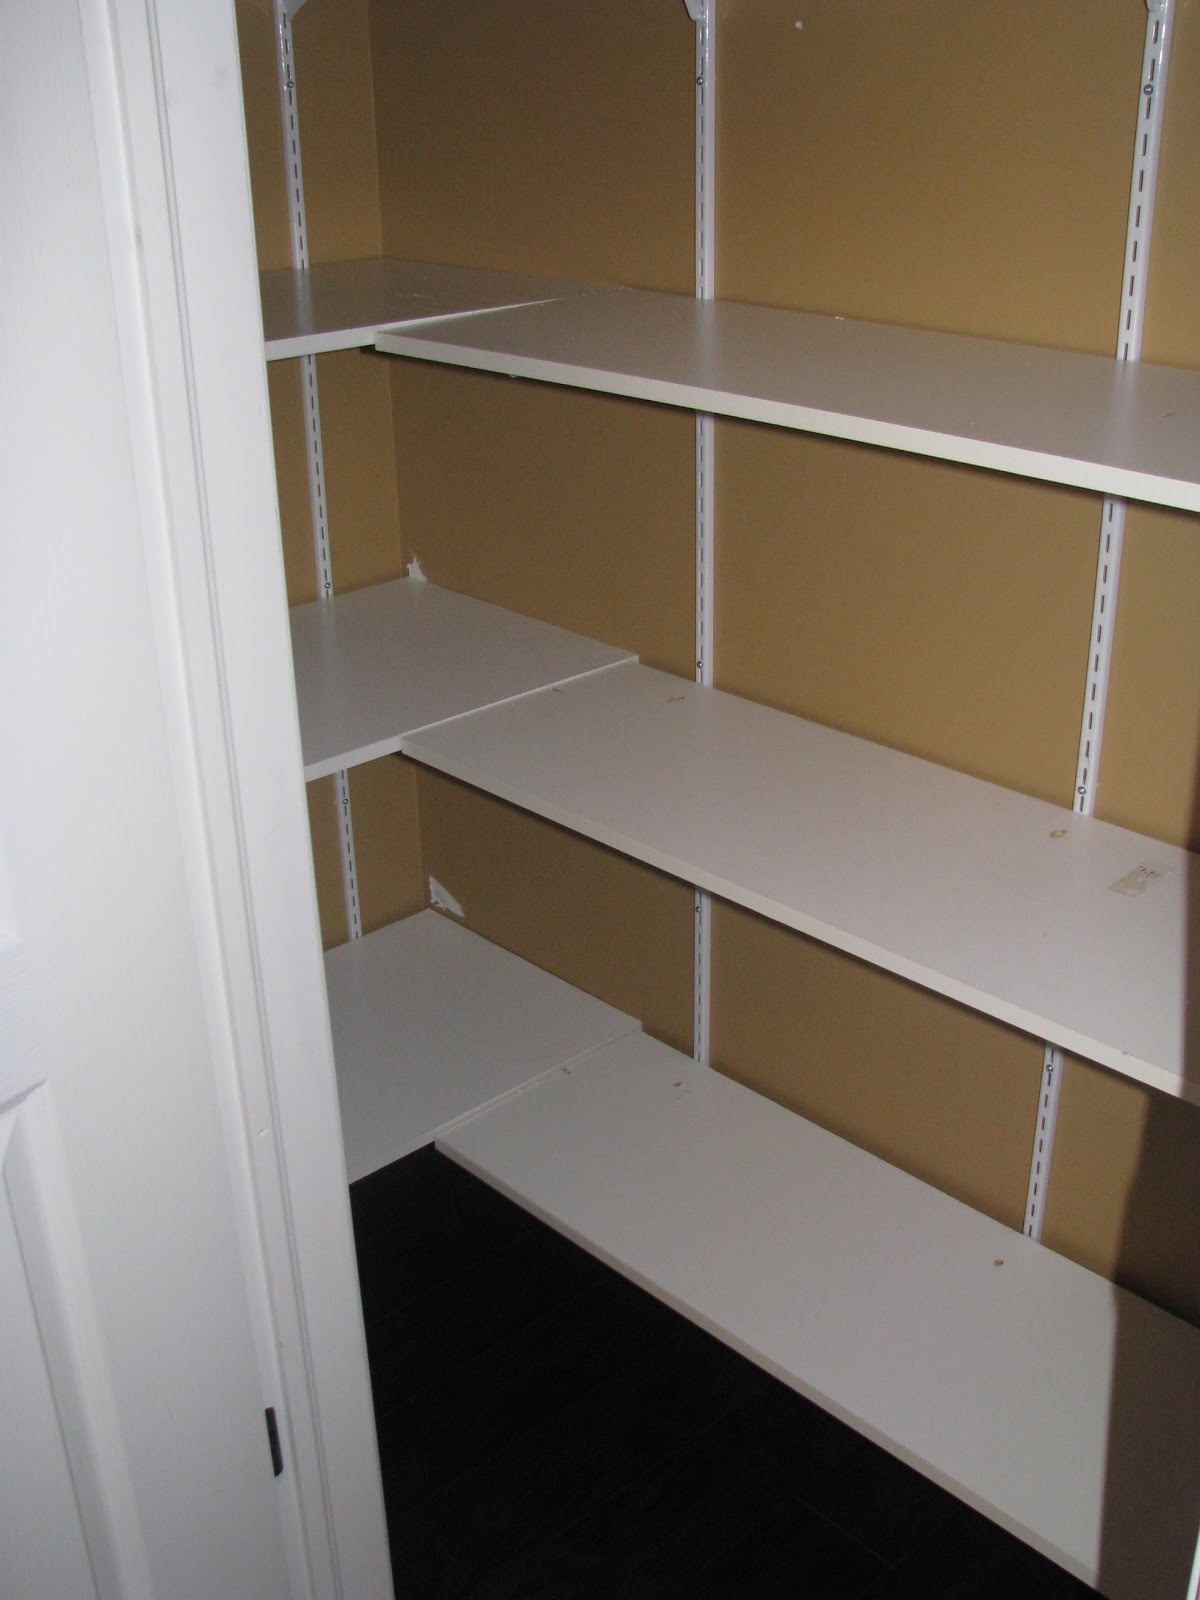
Sunday morning we got up and Eric started putting down all the quarter round I tediously painted Saturday afternoon. Then he went to work on the shelving for our pantry. We used to just have two shelves sitting inside the closet that for some odd reason had a hanging bar (despite not being close to the front door), which was a huge pain in the butt, as stuff always fell behind the shelves and was never seen again (until Friday night ...). We made the discovery I had purchased the wrong kind of track(with the guidance of a Home Depot associate), so we had to head back to the store to buy the right one (with only an hour to spare before the store closed). This is the point in the story to note that it was 8 degrees celcius out all weekend (quite nice), so we literally grabbed Hannah and the track and ran out the door. We got about 15 minutes from home and noticed it the sky looked dark behind us, and Eric commented that he hoped it didn't rain as the saw we had been using to cut all the flooring was still outside on the deck (waiting to be used to cut the pantry shelves...). Que the rain, not even a minute later rain drops splashed on our windshield. We decided it was going to be a super quick trip into Home Depot, so we went in got the right stuff (all of which took maybe 15 minutes), walked out of Home Depot and we are in a freaking blizzard. It was now snowing hard. GREAT!! We drove home as quickly as the weather would allow, and rescued our soaking wet saw, and we wondered if it was going to work, as it was clearly wet. So Eric blew it out with his air compressor, and fired it up. AND IT WORKED!!! YAY!! Thank goodness. So he finished up the pantry, we moved the rest of the furniture back in and Eric was supposed to relax as I reorganized the pantry. But someone had other plans for him, he'd just sat down on the couch and put his feet up, and BEEP!!BEEP!!!BEEP!!, his fire pager went off, car crash on the 401, out he goes, is gone about an hour comes home, says he's going to take a shower, is in the bedroom getting his stuff ready and BEEP!!!!BEEP!!!BEEP!!! (again...ugh), another car accident. Off he goes, out for another hour, finally home and really hoping for a good nights rest. Lucklily, no more calls for the night, we had a hydro outage, due a to a freak thunderstorm?? (sun, rain, snow and thunder all in one day WHAT?!!). But here are my beautiful floors!! I love them.... although Hannah has wiped out on them a few times this morning....
Looking down the hall... probably my favorite view....


dining area


can't wait to see these cabinets expresso next weekend....

New shelves in the pantry


now filled up


much better!!!


So, that's my reno weekend, so thrilled that it is done, only one more reno to go, we saved the best for last!! Stay tuned later this week for the before pics of the kitchen!! I'm linking up with Ashley at Life As I Know It for her Manic Mondays, so head on over here and link up and tell her what you did this weekend!!

Amy

LinkWithin